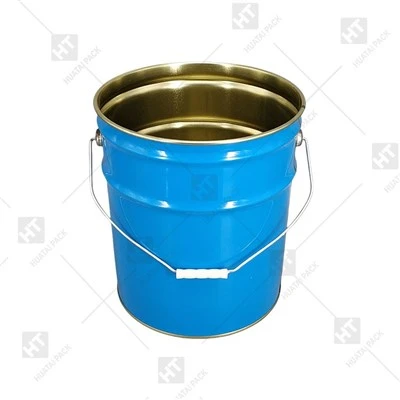


How to Safely Open a Depressurized Paint Can
Aug 12, 2026
I. Safety Preparations Before Opening
1. Environmental Confirmation: Choose a well-ventilated, stable surface away from open flames. Clear away any flammable materials in the vicinity to prevent the accumulation of harmful gases.
2. Personal Protective Equipment: Wear oil-free rubber gloves and, if necessary, goggles to prevent accidental paint contact with skin or eyes.
3. Tool Preparation: Prepare a flathead screwdriver, a dedicated paint can opener, and a clean cloth in advance. Ensure that the tools are free of rust and oil to avoid contaminating the paint.
4. Can Securement: Place the depressurized paint can stably, holding the can to prevent it from tipping over during operation.
II. Standard Opening Procedures for Different Can Types
1. Clip-on Metal Paint Cans: Use a screwdriver to gently pry along the clips on the edge of the can lid, starting from several points. Do not pry it open completely at once.
Once it is partially loosened, slowly lift the can lid to a 45-degree angle. Do not use excessive force throughout the process.
Protect the sealing rubber gasket inside the paint can lid; do not break it to ensure a proper seal for any remaining paint.
2. Screw-top paint cans: Place a clean cloth underneath to increase friction and slowly rotate the lid counterclockwise, applying force evenly throughout.
Once the lid is fully loosened, lift it off smoothly, avoiding paint dripping from the lid's edge.
3. Handling slightly stuck lids: If the lid is slightly stuck due to long-term storage, gently tap the edge of the lid a few times with a hammer to loosen it before opening it according to the corresponding can type.
Do not use tools to forcefully pry open a single area to avoid deforming the lid or accidentally splashing paint.
III. Post-opening protection:
1. After opening, place the can with the inside of the lid facing upwards to prevent paint residue from contaminating the work surface.
2. Check the rim of the can for any spilled paint and wipe it clean with a clean cloth.
3. During operation, avoid getting too much paint on the sealing rubber gasket to prevent affecting the airtightness of the tank when closing the lid later.