How to seal industrial oil cans properly?
Nov 11, 2025
Hey there! As an industrial oil cans supplier, I've seen firsthand the importance of properly sealing these cans. It's not just about keeping the oil inside; it's about maintaining the quality of the oil, preventing spills, and ensuring safety. In this blog, I'll share some tips on how to seal industrial oil cans properly.
Why Proper Sealing Matters
First off, let's talk about why proper sealing is so crucial. Industrial oils are often expensive and sensitive to contamination. If an oil can isn't sealed correctly, moisture, dust, and other contaminants can get in, which can degrade the quality of the oil. This can lead to issues like reduced lubrication, increased wear and tear on machinery, and even equipment failure.
Moreover, a poorly sealed oil can can cause spills, which are not only a waste of product but also a safety hazard. Oil spills can create slippery surfaces, increasing the risk of accidents in the workplace. They can also have environmental implications if the oil leaks into the ground or water sources.
Types of Industrial Oil Cans
Before we dive into the sealing process, let's take a quick look at the different types of industrial oil cans we offer. We have a variety of options to suit different needs and volumes.
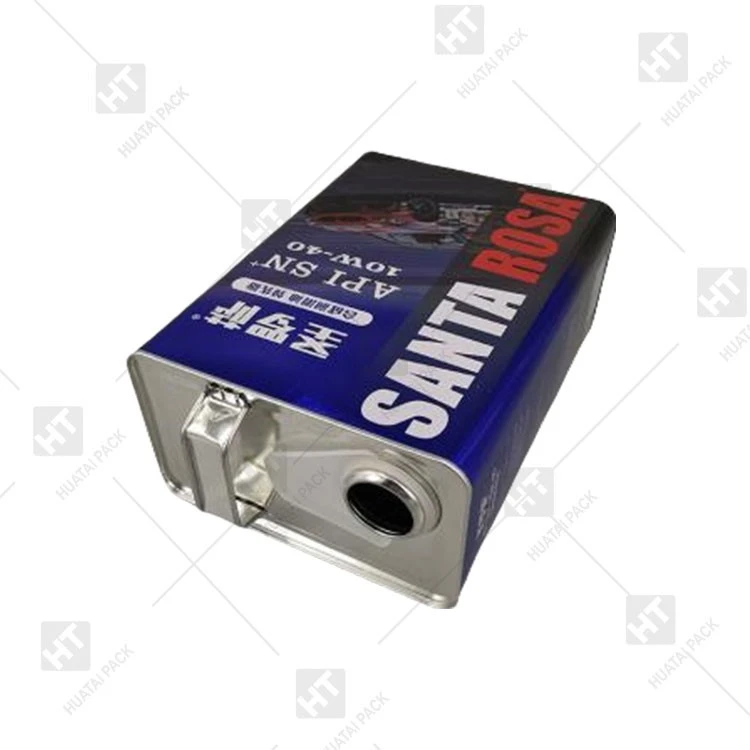
One popular option is the Engine Oil Can With Metal Handle And Metal Cap. This can is sturdy and comes with a metal handle for easy carrying and a metal cap for a tight seal. It's great for storing engine oil and other types of lubricants.
If you need a smaller volume, our 1L Engine Oil Can is a perfect choice. It's compact and convenient, making it ideal for small workshops or DIY projects.
For larger volumes, we also offer the 1gallon Oil Can. This can is designed to hold a significant amount of oil, making it suitable for industrial applications where large quantities of oil are required.
Steps to Properly Seal Industrial Oil Cans
Now, let's get into the nitty-gritty of how to seal these cans properly. Here are the steps you should follow:
Step 1: Clean the Can and Cap
Before you start filling the can with oil, make sure both the can and the cap are clean. Any dirt, debris, or old oil residue can prevent a proper seal. Use a clean cloth or a mild detergent to wipe the inside and outside of the can and the cap. Rinse them thoroughly and let them dry completely.
Step 2: Fill the Can Correctly
When filling the can with oil, be careful not to overfill it. Leave some space at the top of the can to allow for expansion. Overfilling can cause the oil to spill when the can is sealed or during transportation. Use a funnel to pour the oil slowly and steadily into the can, making sure not to splash any oil on the outside of the can.
Step 3: Inspect the Seal
Before you put the cap on the can, inspect the seal on the cap. Look for any signs of damage, such as cracks or tears. If the seal is damaged, replace it with a new one. A damaged seal won't provide a proper barrier against contaminants and can lead to leaks.
Step 4: Apply the Cap
Once you've filled the can and inspected the seal, it's time to apply the cap. Place the cap on the can and make sure it's aligned properly. Then, press down firmly on the cap to create a tight seal. For cans with a screw-on cap, turn the cap clockwise until it's snug. Don't overtighten the cap, as this can damage the threads or the seal.
Step 5: Check for Leaks
After you've sealed the can, check for any signs of leaks. Turn the can upside down and let it sit for a few minutes. If you see any oil dripping or seeping out, the can isn't sealed properly. In this case, remove the cap, check the seal again, and reapply the cap.
Step 6: Label the Can
Finally, label the can with the type of oil it contains, the date it was filled, and any other relevant information. This will help you keep track of the oil and ensure that you're using the right oil for the right application.
Additional Tips for Proper Sealing
Here are some additional tips to help you seal industrial oil cans properly:
- Use a Sealant: In some cases, using a sealant can provide an extra layer of protection against leaks. There are various types of sealants available, such as rubber gaskets or silicone sealants. Make sure to choose a sealant that is compatible with the type of oil you're storing.
- Store the Cans Properly: Once the cans are sealed, store them in a cool, dry place away from direct sunlight and heat sources. Extreme temperatures can cause the oil to expand and contract, which can put pressure on the seal and lead to leaks.
- Regularly Inspect the Seals: Over time, the seals on the cans can wear out or become damaged. It's a good idea to regularly inspect the seals and replace them if necessary. This will help ensure that the cans remain properly sealed and the oil stays in good condition.
Conclusion
Properly sealing industrial oil cans is essential for maintaining the quality of the oil, preventing spills, and ensuring safety. By following the steps and tips outlined in this blog, you can ensure that your oil cans are sealed correctly and that your oil stays protected.
If you're in the market for high-quality industrial oil cans, look no further. We're a leading supplier of industrial oil cans, offering a wide range of options to suit your needs. Whether you need a small can for a DIY project or a large can for an industrial application, we've got you covered.

If you have any questions or would like to discuss your specific requirements, feel free to reach out to us. We'd be happy to help you find the right oil cans for your needs and provide you with more information on how to seal them properly. Let's work together to ensure that your oil is stored safely and effectively.
References
- ASTM International. (Year). Standard practices for storage and handling of lubricants.
- National Fire Protection Association. (Year). Fire safety standards for flammable and combustible liquids.
- Manufacturer's guidelines for industrial oil cans.