

How to paint a ceiling with a paint can efficiently?
Sep 11, 2025
Hey there! As a paint can supplier, I've seen a lot of folks struggle with painting their ceilings. But trust me, with the right tools and techniques, you can paint a ceiling with a paint can efficiently. In this blog, I'll share some tips and tricks that'll make your ceiling - painting project a breeze.
1. Preparation is Key
Before you even think about opening that paint can, you've got to prep the area. First off, move all the furniture out of the room or cover it with drop - cloths. You don't want any paint splatters ruining your nice stuff. Next, clean the ceiling. Dust, cobwebs, and dirt can affect how the paint adheres. Use a broom or a vacuum with a brush attachment to get rid of the debris.
Once the ceiling is clean, you should protect the walls. You can use painter's tape along the edges where the ceiling meets the walls. This'll give you a clean, straight line and prevent paint from getting on the walls.
2. Choosing the Right Paint Can
Now, let's talk about the paint cans. We offer a variety of options to suit different needs. For small projects or touch - ups, our Small Mini Paint Can is a great choice. It's easy to handle and won't take up much space.
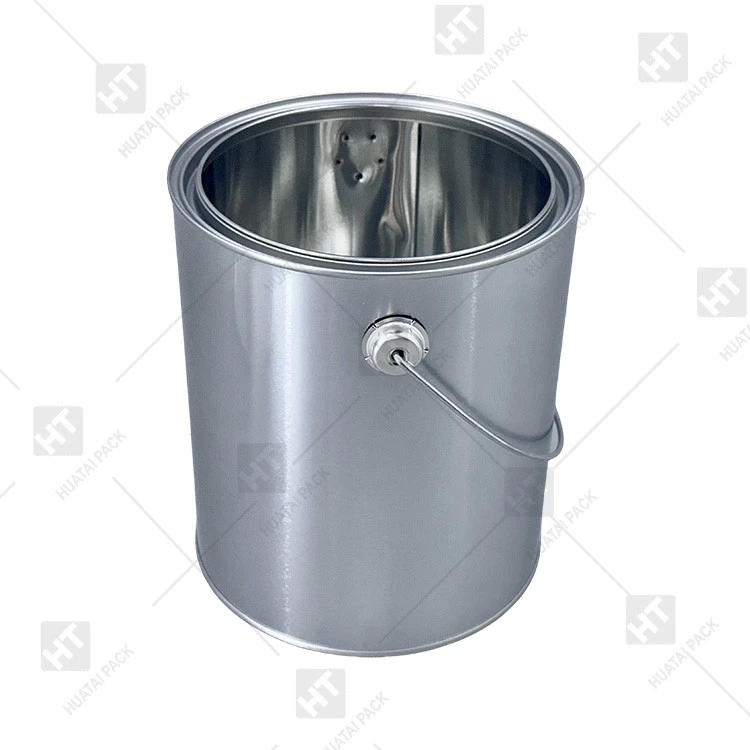
If you're dealing with chemicals or special paints, our Chemical Round Can is designed to keep the contents safe and secure. And for larger projects, the Paint Can With Metal Handle is a real workhorse. The metal handle makes it easy to carry around and pour the paint.
3. Stirring the Paint
Once you've got the right paint can, it's time to stir the paint. This is super important because paint can settle over time. You want to make sure all the pigments and additives are evenly mixed. Use a paint stirrer and give it a good stir. Start from the bottom and work your way up, scraping the sides and bottom of the can as you go. Keep stirring for at least 5 - 10 minutes to ensure a consistent color and texture.
4. Using a Paint Roller
A paint roller is your best friend when it comes to painting a ceiling. First, pour some paint into a paint tray. Don't overfill it, just enough to cover the bottom. Dip the roller into the paint and roll it back and forth on the textured part of the tray to remove any excess.
Start painting in a corner of the ceiling. Roll the paint in a "W" or "M" pattern. This helps to spread the paint evenly. After the initial pattern, go over the area with smooth, straight strokes. Work in small sections, about 4 - 5 feet at a time. This way, you can keep the paint wet and blend the edges together.
5. Cutting In
Cutting in is the process of painting the edges of the ceiling where it meets the walls, lights, or other fixtures. You can use a paintbrush for this. Dip the brush into the paint and wipe off any excess on the side of the can. Hold the brush at a 45 - degree angle and carefully paint along the edge. Take your time and make sure you get a clean line. You can use the painter's tape as a guide.
6. Taking Breaks
Painting a ceiling is a tiring job. It's important to take breaks to avoid fatigue. Every hour or so, take a 10 - 15 minute break. Stretch your arms, legs, and back. This'll help you stay focused and reduce the risk of injury.
7. Cleaning Up
Once you're done painting, it's time to clean up. First, pour any leftover paint back into the can and seal it tightly. You can use it for future touch - ups. Then, clean your paint roller and brush. Rinse them under warm, soapy water until the water runs clear. Squeeze out any excess water and let them dry.
8. Second Coat
In most cases, you'll need a second coat of paint for a smooth, even finish. Wait for the first coat to dry completely. This usually takes about 2 - 4 hours, depending on the type of paint and the humidity. Once it's dry, repeat the painting process. You'll notice that the second coat goes on much easier and looks better.
9. Troubleshooting
Sometimes, things don't go as planned. If you notice drips or runs on the ceiling, don't panic. You can use a paintbrush to smooth them out while the paint is still wet. If the paint has dried, you can sand the area gently and then repaint it.
If you get bubbles in the paint, it could be due to over - stirring or applying the paint too thickly. Let the paint dry, sand the bubbly area, and then repaint it with a thinner coat.
10. Why Choose Our Paint Cans
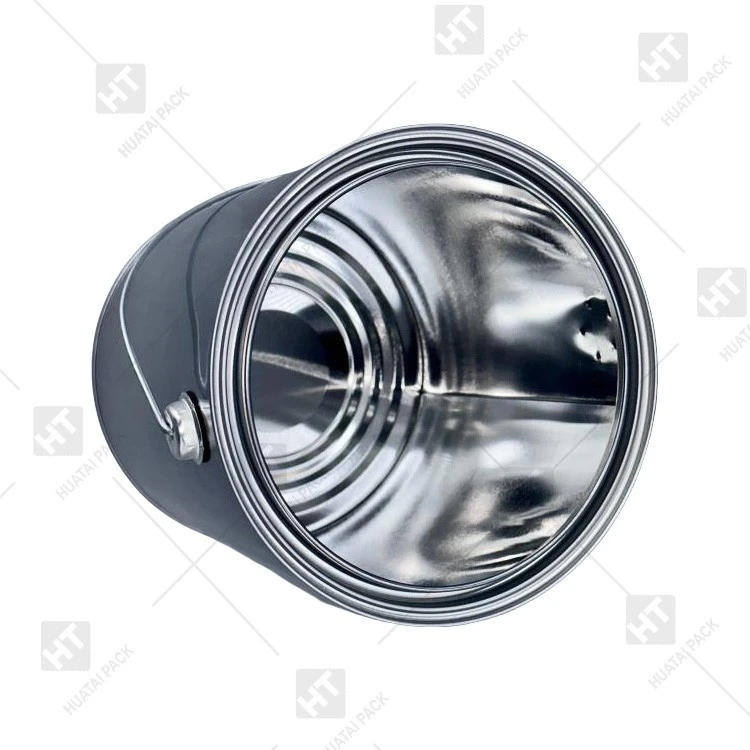
Our paint cans are made from high - quality materials. They're durable, leak - proof, and designed to keep the paint fresh. Whether you're a professional painter or a DIY enthusiast, our paint cans are a great investment. We offer a wide range of sizes and styles to meet your specific needs.
If you're interested in our paint cans, we'd love to hear from you. We can provide you with more information, samples, and competitive prices. Just reach out to us and let's start a conversation about your painting needs. Whether you're working on a small home project or a large commercial job, we've got the right paint can for you.
References
- "Painting 101: A Comprehensive Guide", Home Improvement Magazine
- "The Art of Ceiling Painting", DIY Painting Handbook