

How to load a roller from a paint can?
Oct 03, 2025
Hey there, DIY enthusiasts and painting pros! Today, I'm gonna share with you the ins and outs of loading a roller from a paint can. As a paint can supplier, I've seen it all when it comes to getting that perfect paint job, and I'm here to make sure you're well-equipped with the knowledge to do it right.
First things first, let's talk about the importance of choosing the right paint can. We offer a wide range of options, like the 1L Metal Paint Cans. These are super durable and great for all kinds of paint projects. Whether you're painting a small room or a large outdoor structure, these cans can handle it. Another option is the Chemical Round Can. It's designed to keep your paint fresh and protected, especially if you're using specialty chemicals or high - quality paints. And if you're into smaller projects or making candles, our 4oz Candle Tins are perfect for that too.
Now, onto the main event: loading a roller from a paint can. The first step is to prepare your workspace. Make sure you've got a clean, flat surface where you can set up your paint can. You don't want it tipping over and making a mess. Lay down some drop cloths to protect the floor or any nearby furniture.
Next, open your paint can. If it's a new can, you might need to use a can opener to break the seal. Once it's open, take a look at the paint. Stir it well. This is really important because the paint can separate during storage, with the pigments settling at the bottom. Use a paint stirrer to mix it thoroughly. You want the paint to have a consistent color and texture throughout.
Now, it's time to get your roller ready. If it's a new roller, you might need to soak it in water for a few minutes if it's a natural - fiber roller. Synthetic rollers usually don't need this step. After that, gently squeeze out any excess water or let it drip dry.
When you're loading the roller, you've got a couple of options. One way is to dip the roller directly into the paint can. But be careful not to dip it too deep. You only want to submerge about a third of the roller into the paint. Roll it back and forth in the can a few times to coat the roller evenly. Make sure the paint gets into all the nooks and crannies of the roller cover.
Another method is to use a paint tray. Pour some paint from the can into the paint tray. This gives you more control over how much paint you're using and makes it easier to load the roller. Roll the roller in the tray, starting from the flat part and then moving up to the ridged part. The ridges help to remove any excess paint and distribute it evenly on the roller.
As you're loading the roller, keep an eye on how much paint is on it. You don't want it to be dripping wet, as that can lead to drips and runs on your painted surface. If there's too much paint, you can roll it on the side of the can or in the paint tray to get rid of the excess.
Once your roller is loaded with paint, it's time to start painting. Begin with a small area, like a corner or an edge. Roll the paint on in a "W" or "M" pattern. This helps to spread the paint evenly and cover the surface more effectively. After making the pattern, go over it with smooth, straight strokes to blend the paint.
Keep repeating the process of loading the roller and painting. If you notice that the paint is starting to dry on the roller, you can dip it back into the can or the paint tray to re - wet it. But make sure to clean the roller regularly, especially if you're switching between different colors or types of paint.
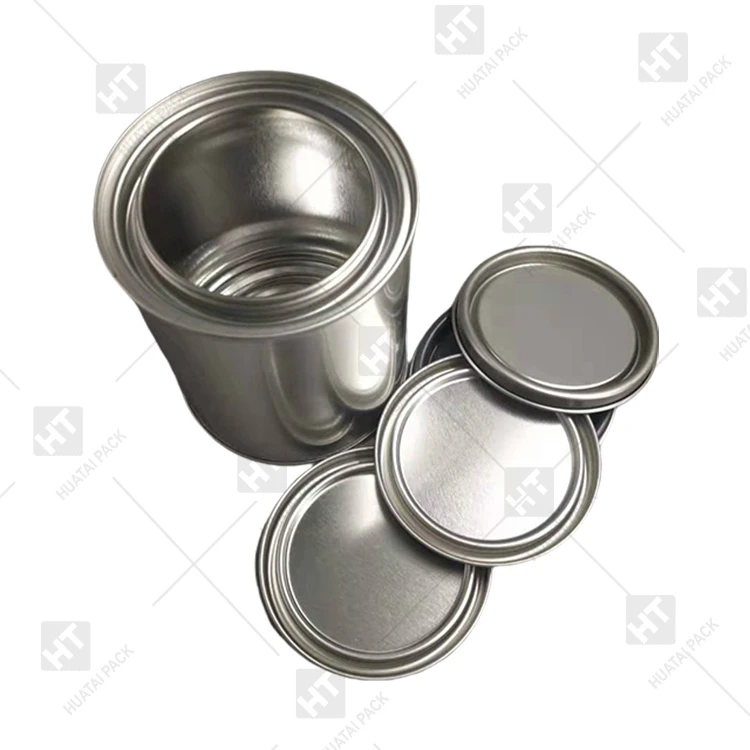
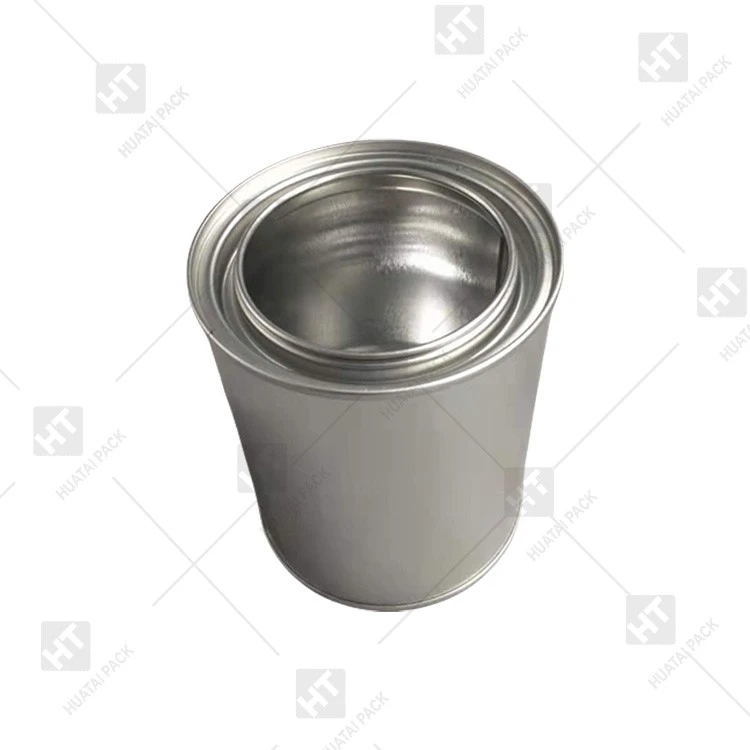
Throughout the painting process, pay attention to the paint level in the can. If it gets too low, you might need to tilt the can slightly to get to the remaining paint. But be careful not to spill it.
Now, let's talk about some common mistakes to avoid. One of the biggest mistakes is not stirring the paint enough. As I mentioned earlier, this can lead to uneven color and texture on your painted surface. Another mistake is overloading the roller. Too much paint on the roller can cause drips, runs, and an uneven finish.
Also, don't forget to clean your paint can after you're done. If you're not using all the paint, seal the can tightly to keep it fresh for future use. You can use a rubber mallet to tap the lid back on securely.
In conclusion, loading a roller from a paint can is a simple process, but it requires a bit of practice and attention to detail. By choosing the right paint can from our selection, like the 1L Metal Paint Cans, Chemical Round Can, or 4oz Candle Tins, and following these steps, you'll be well on your way to achieving a professional - looking paint job.
If you're interested in purchasing our high - quality paint cans for your next project, feel free to reach out. We're always here to help you find the right products for your needs. Whether you're a professional painter or a DIYer, we've got the paint cans that will make your painting experience a breeze.
References
- General knowledge of painting techniques and paint can usage.
- Experience as a paint can supplier.