

How do I clean a paintbrush used with a pint paint can?
Jun 20, 2025
Hey there! As a supplier of Pint Paint Can, I've seen my fair share of paintbrushes that have been through the wringer. Cleaning a paintbrush used with a pint paint can might seem like a no - brainer, but there are actually some key steps to ensure you get the job done right and keep your brush in tip - top shape for future projects.
First things first, let's talk about why it's so important to clean your paintbrush properly. A well - cleaned paintbrush will last longer, give you better paint application, and save you money in the long run. When paint dries in the bristles, it can harden and make the brush stiff, which means it won't spread paint evenly. That can lead to a lumpy, unprofessional finish on your project.
Now, the cleaning process depends a bit on the type of paint you've used. There are two main types: water - based and oil - based paints, and they require different cleaning methods.
Cleaning a Paintbrush Used with Water - Based Paint
If you've used water - based paint, like acrylic or latex, cleaning your brush is relatively easy. Here's what you need to do:
Step 1: Remove Excess Paint
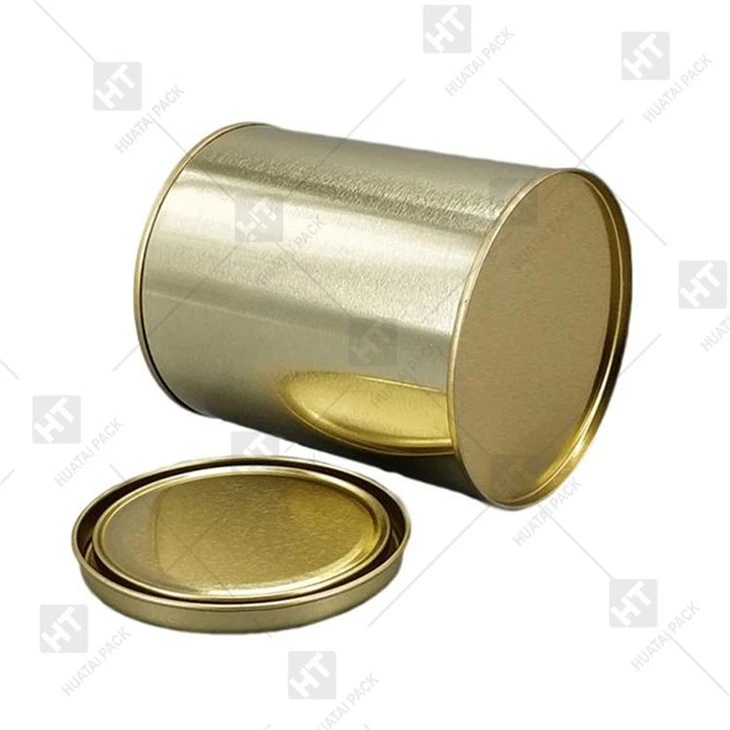
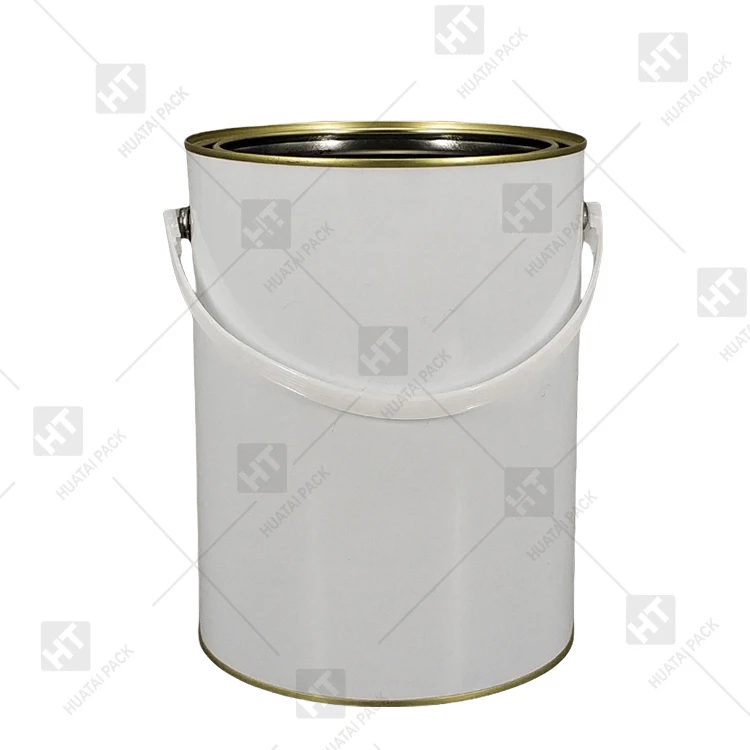
As soon as you're done painting, take your paintbrush and gently tap it against the side of the Pint Paint Can. This will get rid of as much excess paint as possible. You can also use a paintbrush comb or a flat tool to scrape off any large globs of paint from the bristles.
Step 2: Rinse in Warm Water
Fill a container with warm water. It doesn't have to be scalding hot, just comfortably warm. Dip the paintbrush into the water and swirl it around gently. Make sure to get the water deep into the bristles. You'll see the water start to turn the color of the paint. Keep doing this until the water runs clear.
Step 3: Use Soap
Once the excess paint is gone, add a small amount of mild soap to the water. You can use dish soap or a specialized paintbrush cleaner. Swirl the brush in the soapy water, working the soap into the bristles. This will help break down any remaining paint particles.
Step 4: Rinse Again
After a good soak in the soapy water, rinse the brush thoroughly under running warm water. Keep rinsing until all the soap is gone and the water runs completely clear. You don't want any soap residue left in the brush, as it can affect the performance of the brush in future paint jobs.
Step 5: Shape the Bristles
Gently squeeze the brush between your fingers to remove any excess water. Then, use a towel to pat the brush dry. Once it's mostly dry, reshape the bristles. You can use your fingers to guide them back into their original shape. If the brush has a ferrule (the metal part that holds the bristles), make sure it's clean and dry too.
Cleaning a Paintbrush Used with Oil - Based Paint
Oil - based paints, such as alkyds, are a bit more challenging to clean. You'll need some different materials, like mineral spirits or paint thinner.
Step 1: Remove Excess Paint
Just like with water - based paint, start by tapping the brush against the side of the Pint Paint Can to remove as much excess paint as you can.
Step 2: Soak in Mineral Spirits or Paint Thinner
Pour some mineral spirits or paint thinner into a container. Make sure there's enough to fully submerge the bristles of the brush. Let the brush soak for about 15 - 20 minutes. This will loosen up the oil - based paint.
Step 3: Agitate the Brush
After soaking, take the brush out and gently swirl it in the container. You can also use a brush comb to work through the bristles and break up any clumps of paint. You'll see the paint starting to come off into the thinner.
Step 4: Rinse with Fresh Thinner
Pour out the dirty thinner and replace it with fresh thinner. Rinse the brush in the new thinner until the thinner stays relatively clean when you swirl the brush.
Step 5: Wash with Soap and Water
Once the majority of the paint is removed, wash the brush with warm, soapy water. This will get rid of any remaining thinner and paint residue. Rinse the brush thoroughly under running water until all the soap is gone.
Step 6: Shape and Dry
Squeeze out the excess water, pat the brush dry with a towel, and reshape the bristles. It's important to let the brush dry completely before storing it.
Storing Your Cleaned Paintbrush
After you've cleaned your paintbrush, proper storage is key to keeping it in good condition. Here are some tips:
- Hang the Brush: If possible, hang the brush by its handle. This allows any remaining water to drain out of the bristles and prevents the bristles from getting misshapen.
- Use a Brush Protector: You can buy brush protectors that keep the bristles in shape and prevent them from getting bent or damaged while the brush is stored.
- Store in a Dry Place: Make sure to store your brush in a dry place. Moisture can cause the bristles to mold or the ferrule to rust.
Additional Tips
- Clean Regularly: Don't let paint sit on the brush for too long. The longer the paint dries, the harder it is to clean. Try to clean your brush as soon as you're done with your painting session.
- Use the Right Tools: Invest in good quality brush combs and cleaners. They can make the cleaning process much easier and more effective.
As a supplier of Pint Paint Can and other related products like 1gallon Round Paint Can and 1 Gallon Round Paint Cans, I understand the importance of having the right supplies for a successful painting project. If you're in the market for high - quality paint cans or have any questions about paintbrush cleaning or our products, feel free to reach out. We're always here to help you with your painting needs and look forward to discussing potential procurement opportunities with you.
References
- Painting 101: Basics of Paintbrush Care and Cleaning, Home Improvement Magazine
- Guide to Painting Supplies, Professional Painters Association Handbook