

What is the best way to clean a brush used with a paint can?
Nov 25, 2025
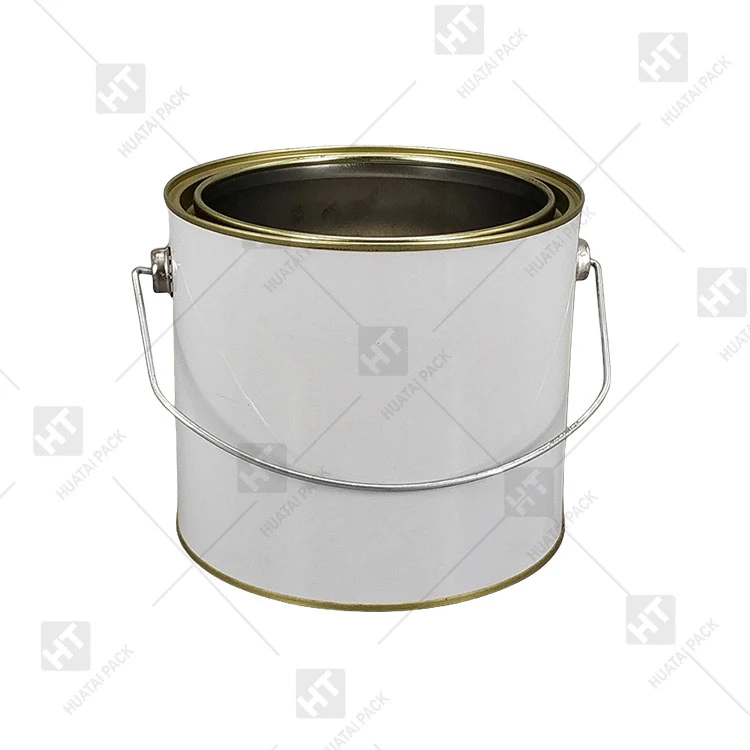
Hey there! As a paint can supplier, I've seen my fair share of brushes that have been used with our Small Round Metal Can, Paint Can With Metal Handle, and 4oz Candle Tins. And let me tell you, keeping those brushes clean is super important. Not only does it save you money in the long run, but it also ensures that your next painting project goes smoothly. So, what's the best way to clean a brush used with a paint can? Let's dive in!
First Things First: Know Your Paint
The type of paint you're using plays a huge role in how you should clean your brush. There are two main types of paint: water-based and oil-based.
Water-Based Paints
Water-based paints, like latex and acrylic, are the easiest to clean up. All you need is some warm water and a mild soap. Start by removing as much paint from the brush as possible. You can do this by gently squeezing the bristles between your fingers or using a brush comb. Then, rinse the brush under warm running water, making sure to work the water through the bristles. Add a small amount of mild soap to the water and continue to work it through the brush. Rinse the brush thoroughly until the water runs clear.
Once the brush is clean, reshape the bristles and lay the brush flat to dry. Avoid hanging the brush by the handle, as this can cause the bristles to bend and lose their shape.
Oil-Based Paints
Oil-based paints are a bit more tricky to clean. You'll need a solvent, such as mineral spirits or paint thinner. Start by removing as much paint from the brush as you can, just like you would with water-based paint. Then, pour some solvent into a container and soak the brush in it for a few minutes. Swish the brush around in the solvent to help loosen the paint.
After a few minutes, remove the brush from the solvent and use a brush comb or your fingers to remove any remaining paint. Rinse the brush under running water to remove the solvent. Be sure to work in a well-ventilated area, as solvents can be toxic. Once the brush is clean, reshape the bristles and lay the brush flat to dry.
Tools You'll Need
To clean your brush effectively, you'll need a few tools. Here's a list of what you'll need:
- Brush Comb: A brush comb is a great tool for removing excess paint from the brush. It helps to separate the bristles and remove any clumps of paint.
- Mild Soap: For water-based paints, a mild soap is all you need to clean the brush. Avoid using harsh chemicals, as they can damage the bristles.
- Solvent: For oil-based paints, you'll need a solvent, such as mineral spirits or paint thinner. Make sure to use the solvent in a well-ventilated area.
- Container: You'll need a container to soak the brush in the solvent or soapy water.
- Towels: Keep some towels handy to dry the brush after cleaning.
Step-by-Step Cleaning Process
Now that you know what tools you need and how to choose the right cleaning method based on the type of paint, let's go through the step-by-step cleaning process.
Step 1: Remove Excess Paint
Before you start cleaning the brush, remove as much paint as possible. You can do this by gently squeezing the bristles between your fingers or using a brush comb. This will make the cleaning process easier and more effective.
Step 2: Choose the Right Cleaning Method
As mentioned earlier, the type of paint you're using will determine the cleaning method you should use. If you're using water-based paint, use warm water and mild soap. If you're using oil-based paint, use a solvent.

Step 3: Soak the Brush
If you're using a solvent, pour some into a container and soak the brush in it for a few minutes. If you're using warm water and soap, fill a container with warm water and add a small amount of soap. Soak the brush in the soapy water for a few minutes.
Step 4: Clean the Brush
After soaking the brush, use a brush comb or your fingers to work the cleaning solution through the bristles. Make sure to work the solution all the way to the base of the bristles. Rinse the brush under running water until the water runs clear.
Step 5: Reshape the Bristles
Once the brush is clean, reshape the bristles. You can do this by gently squeezing the bristles between your fingers or using a brush comb. Make sure the bristles are straight and evenly spaced.
Step 6: Dry the Brush
Lay the brush flat to dry. Avoid hanging the brush by the handle, as this can cause the bristles to bend and lose their shape. Make sure the brush is completely dry before using it again.
Tips for Maintaining Your Brushes
Cleaning your brush after each use is important, but there are also some other things you can do to maintain your brushes and keep them in good condition.
- Store Your Brushes Properly: When you're not using your brushes, store them in a cool, dry place. Avoid storing them in a place where they can be crushed or bent.
- Use a Brush Guard: A brush guard is a great way to protect your brushes when you're not using them. It helps to keep the bristles straight and prevents them from getting damaged.
- Don't Overload the Brush: When you're painting, don't overload the brush with too much paint. This can cause the bristles to bend and lose their shape.
Conclusion
Cleaning a brush used with a paint can doesn't have to be a hassle. By following the steps outlined in this blog post, you can keep your brushes clean and in good condition. Remember to choose the right cleaning method based on the type of paint you're using, use the right tools, and follow the proper cleaning process.
If you're in the market for high-quality paint cans, be sure to check out our Small Round Metal Can, Paint Can With Metal Handle, and 4oz Candle Tins. We offer a wide range of paint cans to meet your needs. If you have any questions or would like to discuss your paint can requirements, feel free to reach out to us for a purchase negotiation.
References
- "How to Clean Paint Brushes." The Spruce, https://www.thespruce.com/how-to-clean-paint-brushes-1388624.
- "Cleaning Paint Brushes." This Old House, https://www.thisoldhouse.com/painting/21013770/cleaning-paint-brushes.