
How were tin pails made in the past?
Jul 27, 2026
Back in the day, making tin pails was a real hands - on, labor - intensive process. I'm a tin pail supplier, and I've always been fascinated by the history of how these useful containers were crafted.
Let's start with the materials. In the past, the main material for tin pails was, of course, tinplate. Tinplate is a thin sheet of steel coated with a layer of tin. This coating not only gives the pail a shiny appearance but also protects the steel from rusting. The tinplate was sourced from large metal mills. These mills would produce large sheets of tinplate, which were then cut into the appropriate sizes for making pails.
The first step in making a tin pail was cutting the tinplate. Workers used large shears or cutting machines to cut the tinplate into rectangular shapes. The size of the rectangle was carefully calculated based on the desired size of the pail. For example, if you wanted to make a small pail, you'd cut a smaller rectangle, and for a larger one, a bigger rectangle.
Once the tinplate was cut, the next step was to form the body of the pail. This was done by bending the rectangular tinplate into a cylinder. Workers used special bending tools to carefully curve the tinplate around a mandrel, which was a cylindrical object that gave the pail its shape. It took a lot of skill to make sure the cylinder was smooth and the edges lined up perfectly.
After the body was formed, the next crucial step was joining the edges of the cylinder. In the past, riveting was a common method. Rivets are small metal pins that are used to hold two pieces of metal together. Workers would drill holes along the edges of the cylinder and then insert the rivets. They'd use a hammer to pound the rivets into place, creating a strong and secure joint. Another method that was sometimes used was soldering. Soldering involved melting a special metal alloy, usually a mixture of tin and lead, and using it to join the edges of the tinplate. This method required a lot of precision to ensure a leak - proof seal.
The bottom of the pail was also an important part. A circular piece of tinplate was cut to fit the bottom of the cylinder. This piece was then attached to the body of the pail. Similar to the body joint, riveting or soldering could be used to attach the bottom. Some pails also had a flange around the edge of the bottom, which provided extra strength and stability.
Once the body and the bottom were joined, the pail needed handles. Handles were usually made from wire. The wire was bent into the appropriate shape and then attached to the pail. This could be done by riveting the wire to the sides of the pail or by using special clips.
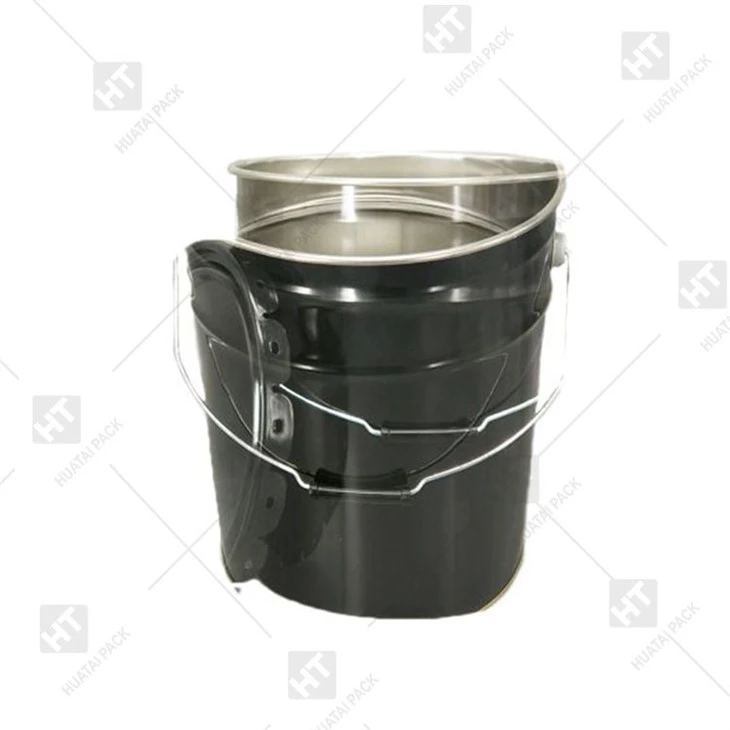
Now, let's talk about some of the different types of tin pails that were made in the past. One popular type was the Open Head Tin Pail 20L. These pails had an open top, which made them easy to fill and empty. They were commonly used for storing and transporting liquids, such as water, oil, or paint.
Another type was the Tin Pail with Flower Lid. These pails were more decorative. The flower - shaped lids added a touch of charm, and they were often used for storing small items like buttons, beads, or sewing supplies.
The 5 Gallon Tin Pail was also a very common type. These large pails were used for a variety of purposes, from storing dry goods like grains and flour to holding construction materials like cement and paint.
As a tin pail supplier, I understand the historical significance of these manufacturing processes. While modern technology has made the production of tin pails much more efficient, there's still something special about the old - fashioned way of making them. The craftsmanship and attention to detail that went into each pail were truly remarkable.
If you're in the market for tin pails, whether it's for industrial use, storage, or just for a bit of nostalgia, I'd love to have a chat with you. We can discuss your specific needs and find the perfect tin pails for you.